A step-by-step guide to using Windows 10-11 Remote Desktop Connection
Windows 10 and 11 Remote Desktop Connection is a feature that allows you to connect to another computer over the internet or a local network and control it as if you were sitting in front of it. Here’s a step-by-step guide to using Remote Desktop Connection:
- Enable Remote Desktop on the target computer:
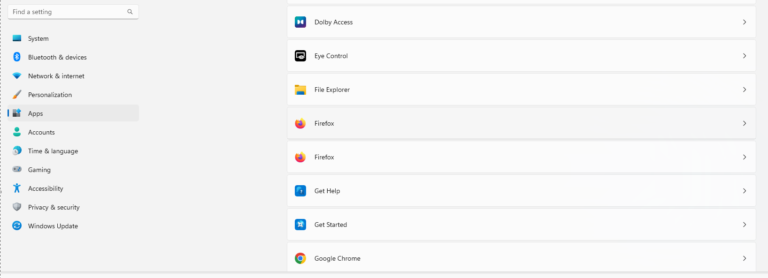
- On the target computer (the one you want to connect to), open the Start menu and search for “Remote Desktop settings”.
- Click on “Remote Desktop settings” and toggle the switch to “On”.
- Note down the PC name or IP address of the target computer.
- Connect to the target computer from your computer:
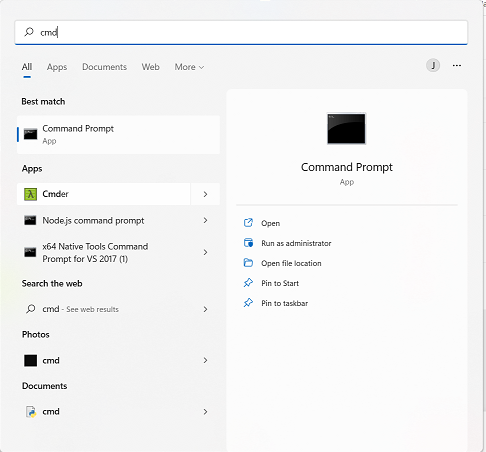
- On your computer, open the Start menu and search for “Remote Desktop Connection”.
- Click on “Remote Desktop Connection” to open the Remote Desktop Connection window.
- In the “Computer” field, enter the PC name or IP address of the target computer that you noted earlier.
- Click “Connect” to initiate the connection.
- Enter login credentials:
- Enter the login credentials for the target computer, such as username and password. If the target computer is on a domain, enter the domain name followed by a backslash before the username (e.g. DOMAIN\username).
- Click “OK” to continue.
- Control the target computer:
- Once the connection is established, you will see the desktop of the target computer on your screen. You can now control the target computer as if you were sitting in front of it.
- To end the session, simply close the Remote Desktop Connection window or click on the “X” button in the top-right corner.
Note that Remote Desktop Connection may require you to configure port forwarding on your router or firewall, and that some editions of Windows 10 and 11 may not support Remote Desktop Connection as a host. Be sure to check the system requirements and network configuration before attempting to use Remote Desktop Connection.