How change default browser Windows 10-11
This tutorial is a step-by-step guide on how to change the default browser in Windows 10 and 11:
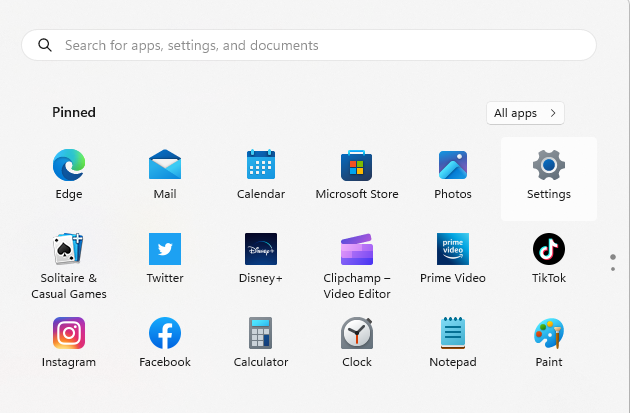
- Click on the “Start” menu button in the lower-left corner of the screen.

- Select “Settings” (gear icon) from the Start menu as shown in the image.
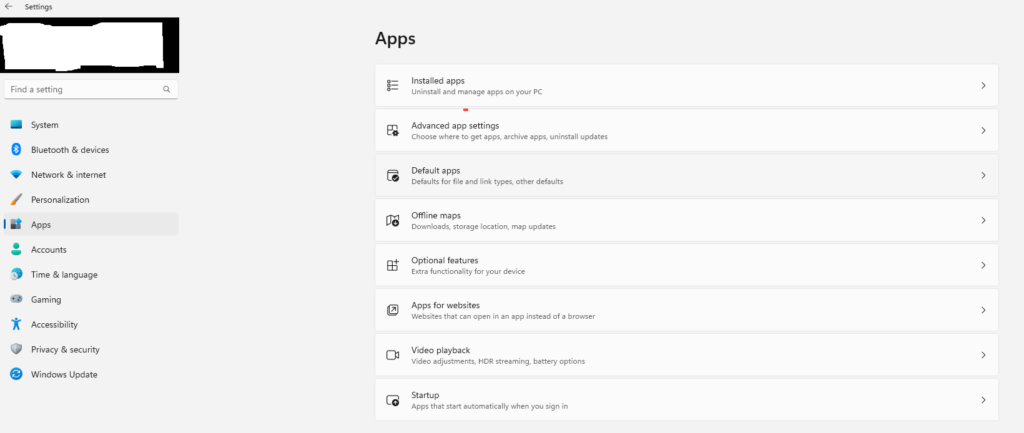
- In the Settings window, click on “Apps” from the left-hand menu as shown in the image.

- In the Apps settings, click on “Default apps” from the left-hand menu as shown in the image.
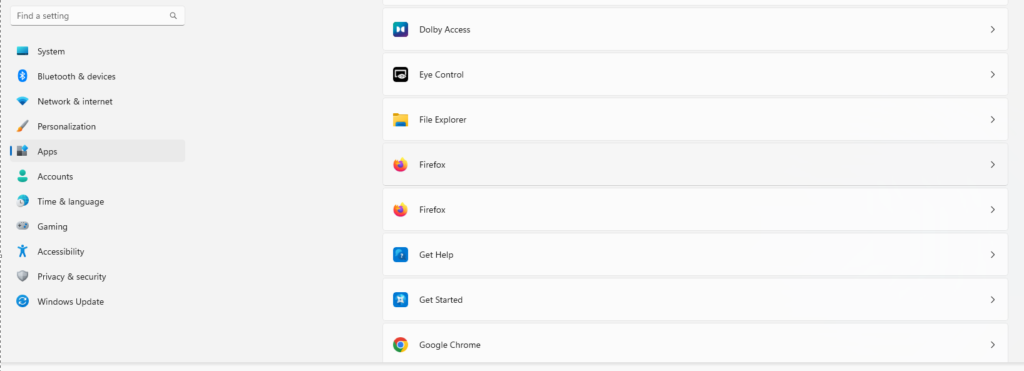
- Scroll down to the “Web browser” section and click on the current default browser. This will display a list of installed browsers.
- Select the browser you want to use as your default browser. If the browser you want to use is not listed, click on “Look for an app in the Microsoft Store” to search for additional options.
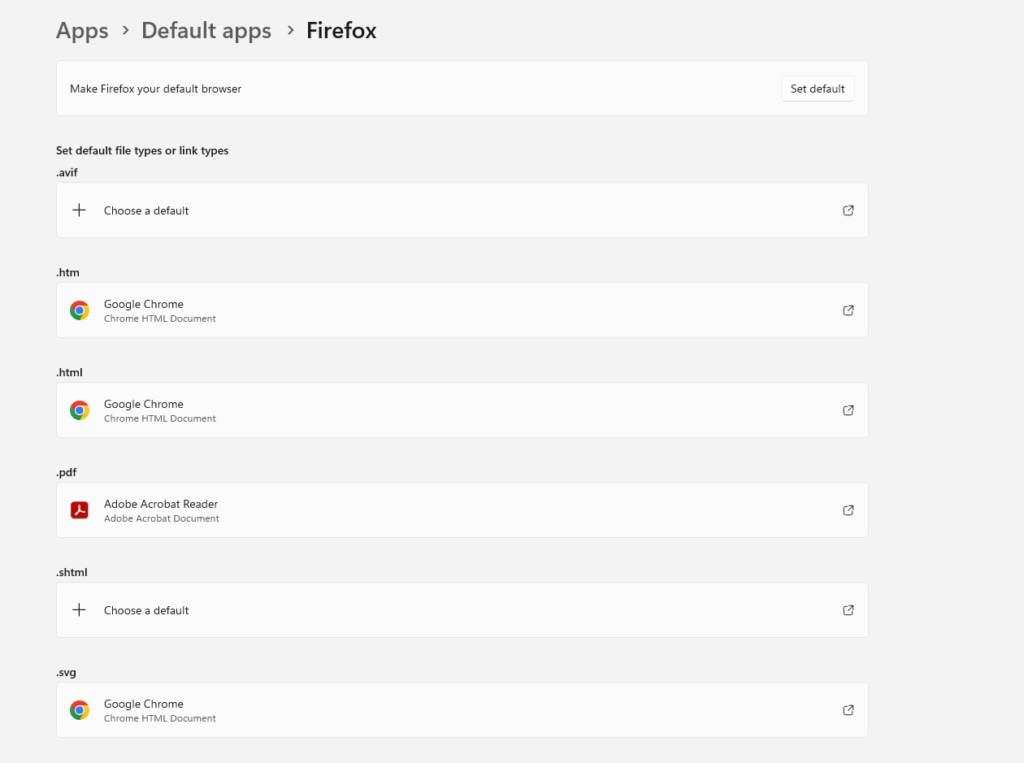
- Once you have selected your preferred browser, click on the set Default button or if you want to set a default browser for a specific file type, also you can add a file type as shown.

That’s it! You have now successfully changed the default browser in Windows 10-11.