A guide to using Windows 10-11 virtual desktops
A step-by-step guide to using virtual desktops in Windows 10 or 11. Here are the steps:
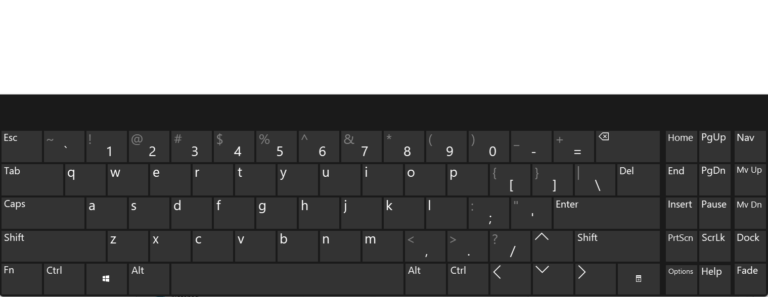
- Open the Task View interface: The first step to using virtual desktops on Windows 10 or 11 is to open the Task View interface. You can do this by clicking on the Task View button in the taskbar (located next to the Start button) or by pressing the Win+Tab keyboard shortcut.
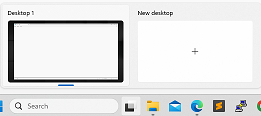
- Create a new desktop: Once you have opened the Task View interface, you can create a new desktop by clicking on the “New Desktop” button located in the top-left corner of the screen. Alternatively, you can press the Ctrl+Win+D keyboard shortcut to create a new desktop.

- Switch between desktops: To switch between desktops, you can click on the desktop you want to switch to in the Task View interface or use the Ctrl+Win+Left or Right arrow keys to switch between desktops.
- Move windows between desktops: You can move windows between desktops by dragging and dropping them from one desktop to another in the Task View interface. Alternatively, you can right-click on a window and select “Move to” and then select the desktop you want to move it to.
- Close a desktop: To close a desktop, open the Task View interface and hover your mouse over the desktop you want to close. Click on the “X” button that appears in the top-right corner of the desktop thumbnail to close the desktop.
- Customize virtual desktop settings: To customize virtual desktop settings, open the “Settings” app and navigate to the “System” section. From there, you can customize settings such as the number of virtual desktops, keyboard shortcuts, and more.
These are the basic steps to using virtual desktops in Windows 10 or 11. Once you get the hang of it, virtual desktops can be a powerful tool for multitasking and staying organized on your computer.